Showing posts with label art. Show all posts

Monday, February 13, 2012

exciting news!

when it comes to marketing myself, i'm not very good at putting myself out there.  i've known forever that if i want to grow my business, i need to put together a press kit and send to blogs and magazines, and get featured to get more exposure.  the problem is, i just never do it.  well, in a twist of fate, one of the biggest magazines to be featured in contacted me last week and wanted to feature one of my prints in their magazine.  This print, called Shades of Blue, is a twist on the chevron pattern you see everywhere these days.
Shades of Blue, chevron diamond pattern by Priss Designs


So, this summer, you'll see "Shades of Blue" as part of a feature in MARTHA STEWART WEDDINGS!   As far as I know, they'll be making different things using patterns and numbers (table numbers and other wedding-y things), then they'll offer a download of all the patterns on their website along with different numbers, so you can make fun printed table number stands! The feature will be in the summer issue... not sure which one yet.  It's kind of crazy that now I just basically have to wait 4-6 months for the issue to come out.  Considering I have no idea what I'll be doing at that point, it's kind of crazy to think I might get some good exposure and who knows what will happen as a result.  Regardless, I'll have something super exciting to put in my bio: Featured in Martha Stewart Weddings!

Wednesday, February 1, 2012

Freebie: February 2012 Desktop Wallpaper

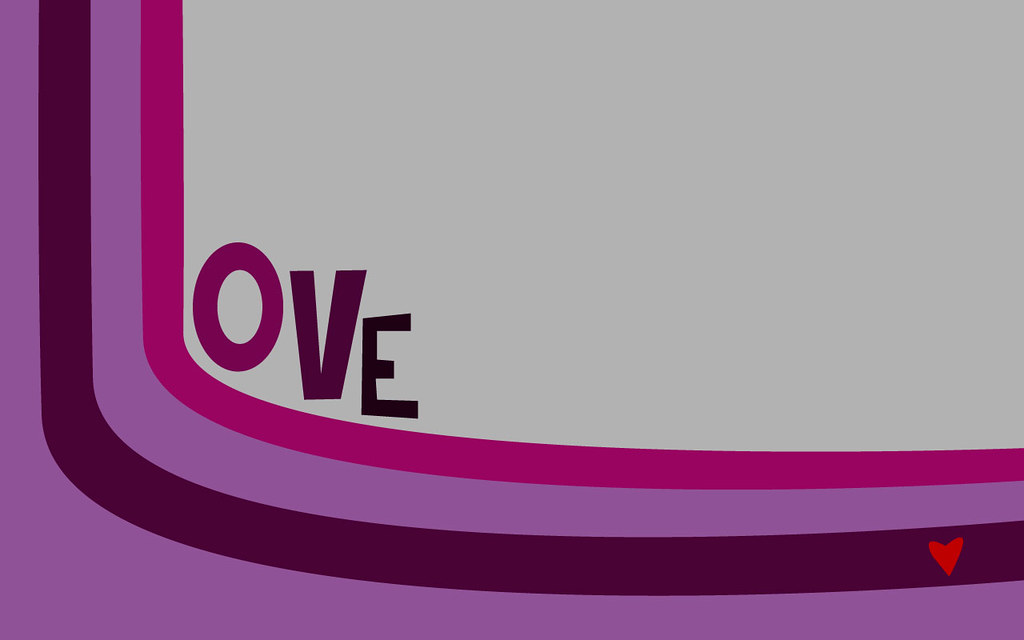
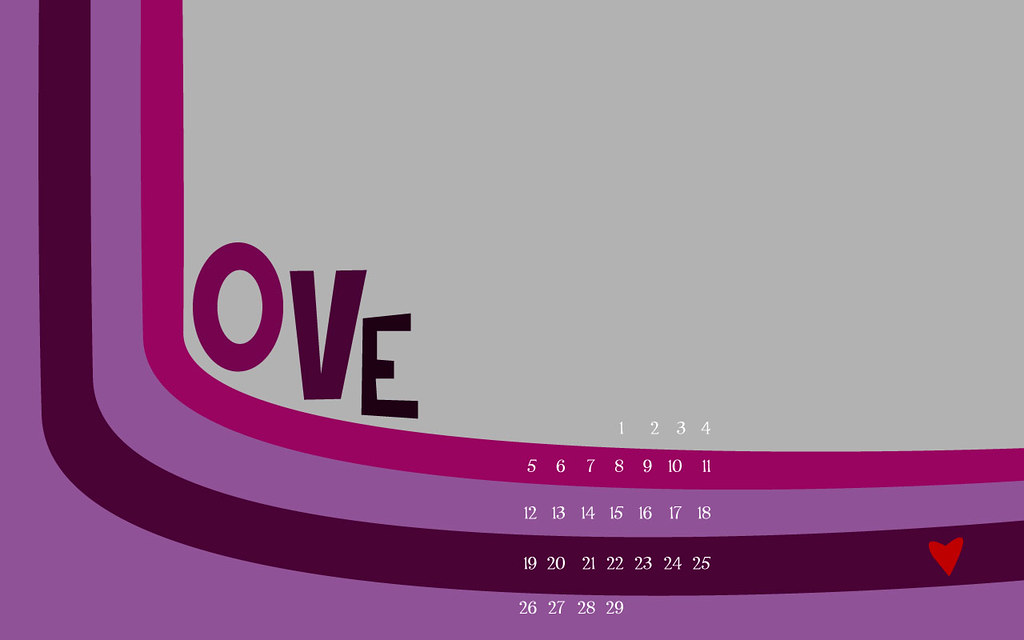
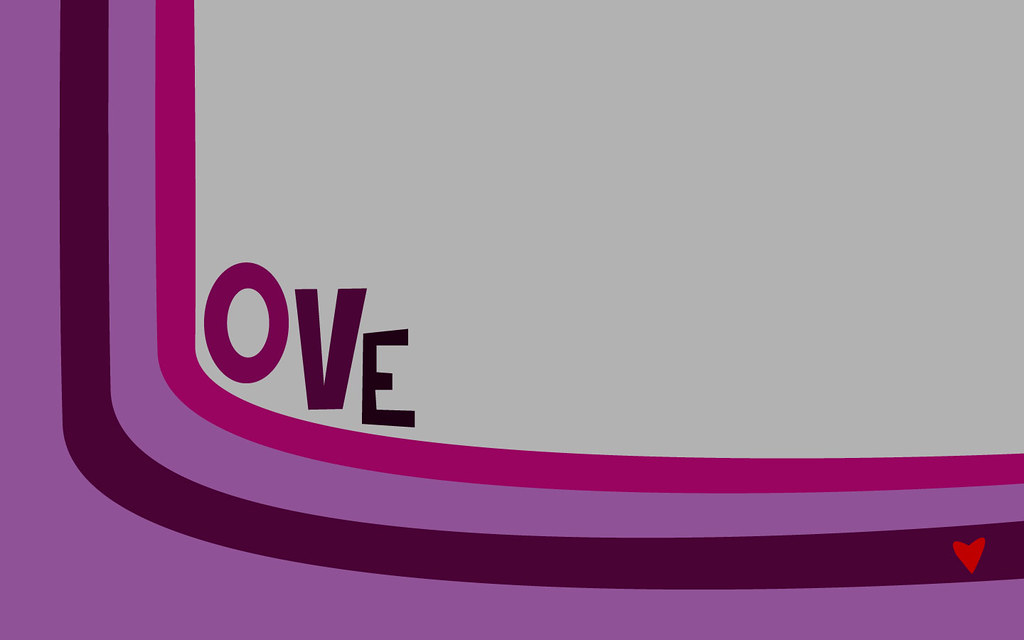
Hi Everybody! Welcome to February! I've created a desktop wallpaper with or without February calendars.  Hope you enjoy them!  Click on your monitor resolution size to open the picture, then click on "Save file".  Open the file from wherever you saved it, and right click then choose "set as background" (that's for a PC, don't ask me how a mac works!).
I know it's a little cheesy since it's Love for Valentine's month, but it's based off this print from my shop that I love.

And this is my first time doing the whole link-to-download-from-flickr thing, so I'd appreciate if you'd let me know if you find any issues trying to download these, or if you know of a simpler way to do it!

February 2012 Desktop Wallpaper Background Calendar, Red Purple Pink Love Heart


Wednesday, December 7, 2011

what i want wednesday!

With the holidays fast approaching, my wish list has been getting pretty full lately.  I can always find a million things I want as long as I keep up with my wishlist and pinterest - as opposed to having no idea what I want and then getting presents that you'll just take back to the store anyway.

Really, if you don't have a wishlist, start one asap! It's so easy! I use amazon, but there are a ton of sites out there that let you make a wishlist - you just install a button on your browser toolbar, and whenever you see anything you like, you just click "add to wishlist" and it's done!  Here's my wishlist.

I know a lot of people just use pinterest, too, and just have a specific board for their wishlist.  Also super easy because there's a toolbar button that just says "pin it"!

So anyway, here are things that I've been loving lately!

This perpetual calendar from uncommongoods.com.  You use your finger to rub the black part on each date, and the heat makes a fact about that day visible, then it switches back to black after a minute.  And it's laminated so you can write with a dry erase marker on the dates, then erase them and start over the next year!  Fun, huh?

This cookie jar from anthropologie.  It's out of stock but I'm sure there are other pear-shaped cookie jar/ceramic things out there somewhere.


2012 Mountain Calendar by pamlostracco - love this.  i think i might have to buy it for myself.

This beautiful photo from CarolynCochrane on etsy
Pretzels, chocolate, caramel, and pecans - these are so good, yall.  My mother-in-law made them a couple years ago, and I loved them, and I've made them a couple times since then because they are so good.  Just put rolos (yes, the candy) on top of a pretzel, then put in the oven for 5-10 minutes, then just press the pecans down on top and they're soft from the oven so they just smoosh (smush?) down.  So easy.  Unrolling all the rolos is a little time consuming, get a little elf to help with that part.

Thursday, September 8, 2011

DIY Painted Birch Tree Wall Forest Mural

diy wall painted birch tree wall art mural gray yellow white

I’ve wanted a birch tree wall mural for so long… in case you haven’t noticed from my etsy shop, my living room décor, or my pinterest account, I’m a little obsessed with trees, branches, and woodgrain anything. So when I decided to redo my office and I knew it would be my area and I could do whatever I wanted, I determined I had to have a wall-o-trees. I did a lot of research and looked at vinyl tree decals, but I decided since I can make my own tree art with a computer then I should be able to make my own tree wall mural with paint. Here are the two pictures I used as my inspiration (the one on the left is my own art, the one on the right is a vinyl decal.)
birch tree wall painted decal aqua red bird owl
Left: Aqua Blue Forest with Red Birds by Priss Designs on etsy; Right: Wild Birch Forest with Owl Wall Decal by designedDesigner on etsy.


The only supplies you need to paint your own birch tree wall are painter’s tape (I love the 2” wide green Frogtape, I think it works so much better than the blue tape), an X-acto knife, and paint. 
frog tape x-acto martha stewart white paint painting a diy wall tree mural
Frogtape; Martha Stewart Paint; X-Acto Knife

 To begin, tape two straight-ish lines for each tree, flaring them out slightly at the bottom. Don’t push your tape too tightly onto the wall at this point. I just randomly made little groupings of trees, although looking back I wish I had done 1-2 more trees instead of having the two bigger spaces, but I couldn’t go back in and add them without it looking weird and cluttered. 
taping trees for tree wall art mural painting


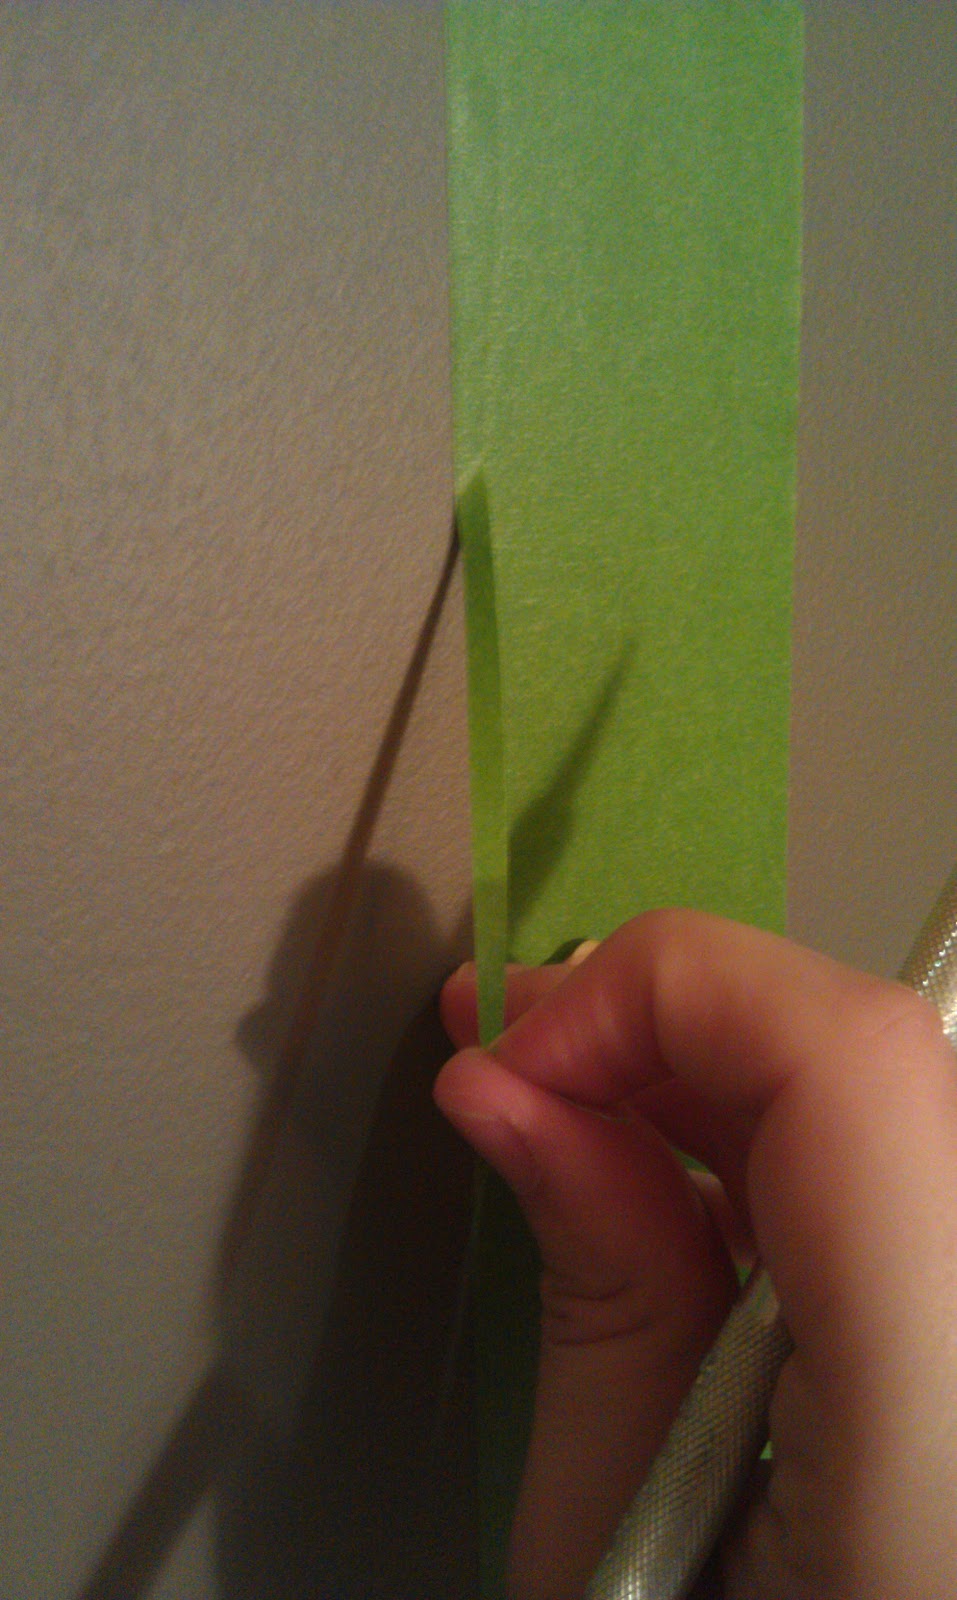
Next, using your X-acto knife, cut slivers of your tape out so your tree isn’t just straight up and down. Think about a real tree and how it has knots sticking out- To begin with, I was just cutting little slivers out of short sections, but by the end I was literally running my X-acto from the very top of the tape to the bottom, weaving slightly in and out as I went down, and it ended up being much easier to remove the tape that way. If you have a brand new super sharp X-acto, you really don’t need to push hard at all on the tape, just lightly score the surface and when you pull off the cut part, it will naturally want to break at your score line. I did need to go back and re-cut parts that tried to tear at the wrong points, and I did make a couple too- deep cuts in my wall (but you can’t tell now that everything is painted), but I really think if you don’t push the tape down too hard to begin with then the tape-wall bond won’t be as strong and the tearing off part will be easier. 
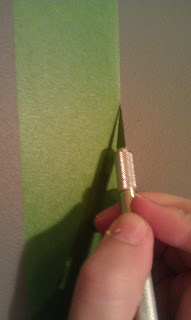
taping and using knife to cut trees for painting diy wall art mural

No lie, the taping/cutting part probably only took me about 30 minutes. Just eyeball your trees and then go to town with your X-acto knife. 

Next, I decided I wanted a few branches to fill in the spaces between the trees, and I used my tree artwork as inspiration for my branches. Looking at my wall now (and considering the extra work it cost me- I’ll get to that later), I’m not sure I’m in love with the branches. Although someone who has seen it now that it is finished said the branches make it look more like trees (you know, for people who haven’t been lusting over tree walls for years like me, they might not immediately realize that lines on a wall are supposed to be trees). I used my tape to “draw” some rough branch shapes then used my X-acto to cut out the actual shape I wanted. You also have to cut through the part of your original tree’s tape to connect the shapes. 
creating branches for diy wall art tree mural birch trees
Making the branch shapes
creating branches for diy wall art tree mural birch trees
After cutting branches out

When you are finished with all your cutting, then go around the edge of the tape that you will be painting on and really push down on the tape, trying to adhere it as well as possible to the wall. I use a couple fingers or the heel of my palm and rub back and forth. I’ve also heard of using the bottom of a spoon to go around everything. And just on a side note, if you are doing a smaller project and really want crisp paint lines, you can use clear nail polish along the edge of the tape and let it dry, and it seals the tape line so no paint can get under the seal. I did it when I painted one tree on my niece’s wall, but a lot of trees on a big wall would need a whole lot of nail polish! 

Anyway, so now you’re ready to paint! I got my white paint from the Oops bin at Home Depot, $7 for a gallon of Martha Stewart paint, so I think it’s a pretty good deal… not sure why it was in the oops bin, it said “bright white” and the paint looked pretty bright white to me, but maybe they tinted it a little or something. 

I painted my first coat with a small paint roller and it looked like this: 
first coat of white paint on gray wall for diy wall tree painting

Not so great, I know. My husband came downstairs and said “whoa, how many coats are you gonna have to do to cover the gray?”… probably should’ve primed it, but oh well. Well, the answer is three. Three coats of paint. After using the roller for the first coat, I used a paint brush for the second two coats and it really didn’t leave paint strokes and it covered a million times better. 
third coat of white paint on gray wall for diy wall art birch tree painting

After my third coat of paint, I got to the “birch bark” part of my trees. While my tape was still in place, I just started painting lines with a smaller paint brush… some were more like long U’s, some were just straight, some were more like little sideways U’s, and I made a couple ovals that looked like knots. I just kinda free-handed it on the first tree, then took off the tape after a couple minutes to make sure I liked how it was looking before I did the rest of my trees. A couple tips from a design standpoint: I think it looks a little better if you have more “bark” on one side of all your trees (as in, left instead of right) just because there would be more shadows on one side of your tree in a forest. Also, keep in mind that you can always add more, but you can’t take away (well, I guess you could paint over some lines with your white paint again if you wanted less lines, but that would be extra work. So, I did my bark on all my trees, and then removed the tape! This is the exciting part, when you really start to see your vision coming together. 

painting birch bark cutouts on trees diy wall mural
I loved my trees… the branches, not so much. They looked all huge and wonky and I was really considering completely painting over them, but then I decided I just needed to make them skinnier. So I freehand painted around them with a smaller paintbrush. I also went back and filled in some of my “bark” with an even smaller round brush to eliminate some of my paint strokes on the ends of my lines where the paintbrush hairs left little trails. And voila! DIY painted mural birch tree wall. 
diy birch tree wall art mural painting gray yellow


Next up on my office makeover is DIY painted IKEA storage boxes with a yellow chevron pattern. Here's a sneak peak:
painting IKEA paper cardboard boxes with yellow chevron


The Shabby NestChic on a Shoestring Decorating
Thirty Hand Made DaysCraft Junkie Too FriendFeatured On The  Crafty NestPhotobucket The DIY Show Off
Join  us Saturdays at tatertotsandjello.com for the weekend wrap 
 up           party!button UndertheTableandDreaming Somewhat Simple

Tuesday, September 6, 2011

recent happenings

Some exciting things have been happening around here! I'm well into my office makeover, I started my web design classes, and I've finished three branding projects.  Below are logos (created by me) for PopFelt (a felt wreath company, coming soon to etsy), Estancia Echartea (a guided hunting tour company), and ASCI (a structural engineering firm).  
etsy logo design logos branding web design identity design examples by Priss Designs etsy
What have you guys been up to?

Wednesday, August 3, 2011

what i want wednesday! plus weekend update

well, i had a pretty eventful weekend.  i went to meet my mom about 2 hours away to give her the chihuahua bookbag for my niece, who started school monday.  i was about 60 miles away when my low gas alert popped up and said i had about 50 miles of gas left, and i figured those things give you an allowance of at least 10 miles anyway, so i hit ignore and kept on my merry way, thinking i would go to a gas station when i got closer.  By the time I knew I was close to being empty, I realized that the exits on the highway were few and far between, and I was not seeing any with gas stations.  I pulled out my tomtom and it said the nearest gas station was 5.1 miles away.  Well, i made it only 3 more miles before i died.  it was over 100 degrees outside, so i sat there with the windows down in my black car with the black leather seats, sweating my butt off, for over an hour while i waited for my mom to come bring me gas.  fast forward a couple days and my car wasn't starting right, so we had to take it in to the mechanic.  apparently running out of gas is bad for your car.  when the fuel injectors are injecting air into your engine, it's not good.  luckily, in my case, my battery had just run super low from me sitting there with the flashers on and trying to restart it a couple times to roll the windows down, but the lesson to be learned here is don't run out of gas if your car has fuel injection! (and most cars from the 90s forward do).  In high school, i had a 1964 nova, and the gas gauge did not work, when my car started sputtering a little bit, i would know i had to get to the gas station quick-like, and all i had to do was swerve back and forth to get the remaining gas to slosh around in the tank... haha can't you just imagine me swerving down the road like a crazy person?!

anyway, car is fixed, i learned my lesson (hopefully), and now we can get back to more important things!  like things i want! haha

#1 thing I want right now is FALL! get me out of this heat and into Halloween weather! My fave time of year!

Raindrop and umbrella wooden magnets from snugstudio on etsy.  so cute!
Did you guys see this really cool/easy tree wall on Design Star a couple weeks ago? I really want to attempt it.
Really cute wire "LOVE" letters.  From newivystyle on etsy.
This is a really cool chevron wooden pendant, but I think it would also be really cool as a large wooden wall art piece, maybe with wire or something.  Definitely a cool DIY idea.  This is by IbbyandRufus on etsy.

Wednesday, July 27, 2011

What I Want Wednesday!

OK so Wednesday's almost over, but that doesn't mean I will want these things any less tomorrow!

I Love You Like Dobby Loves Socks Harry Potter Note Card
"I Love You Like Dobby Loves Socks"... ahhh, Harry Potter humor.  I'm a dork. from MarsupialMenagerie on etsy

Crate & Barrel Marimekko Yellow White Flowers Outdoor Patio Umbrella
Marimekko Outdoor Umbrella from Crate & Barrel via Pinterest

Woodgrain Faux Bois Natural Woodsy Earthy Wood Wedding Invitation Save the Date
If I could get married again (to the same person, of course!) this would be my dream invitation. Made of real wood! via Oh So Beautiful Paper (my new favorite blog, everything is so pretty!)

Gray Cream Porcelain Mug with Black Bubbles Dots etsy
Cute bubble mugs from ArtOnPorcelain on etsy
Woodgrain Wood Grain Faux Bois Whitewashed Wood Decorated Flask etsy
Woodgrain Flask from Liquid Courage on etsy.  So many cute flasks.  I don't drink liquor but I should get one just to put on a shelf. 
Hope you guys are having a great week!